
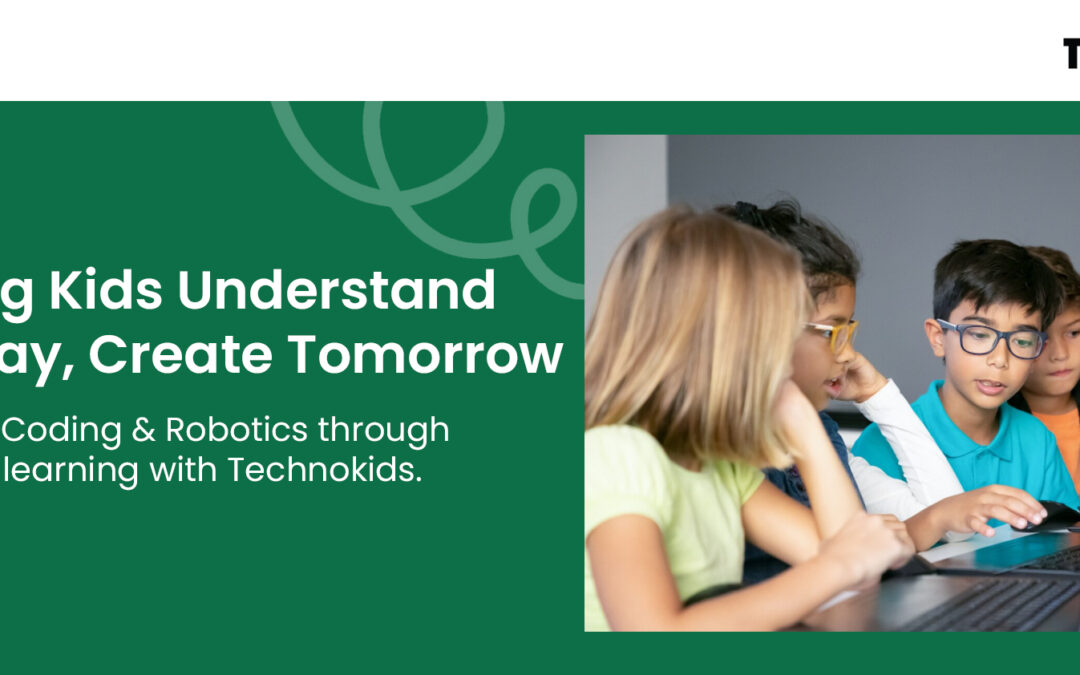
AI Education for Kids: Why Artificial Intelligence Learning Should Start Early
Artificial Intelligence (AI) is no longer just a technology used by scientists, engineers, and businesses. It has become part of everyday life, influencing how we search for information, communicate, learn, and solve problems. As technology continues to evolve, children need to understand how AI works and how they can use it responsibly.
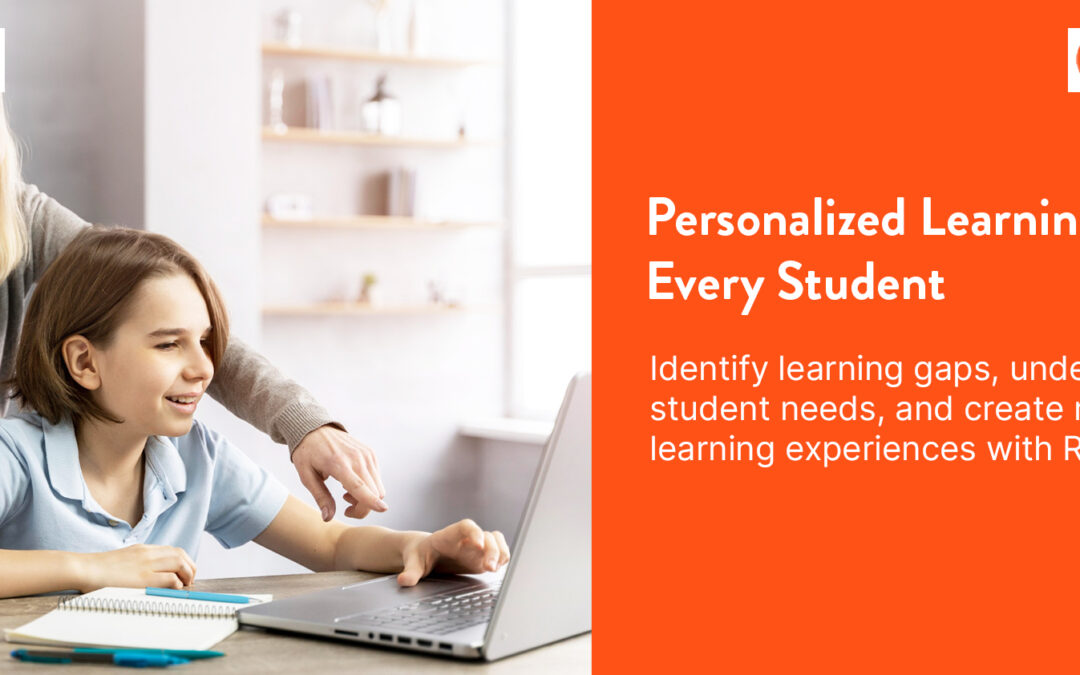
Introducing AI education for kids at an early age helps students build curiosity, creativity, and problem-solving skills while preparing them for a technology-driven future.
Why Should Children Learn About AI?
Children today are growing up surrounded by smart devices, voice assistants, recommendation systems, and intelligent applications. Instead of only using technology, students should learn how technology is created and how it impacts the world around them.
Early AI learning helps children:
1. Develop Critical Thinking Skills
AI is built on data, patterns, and decision-making. When children explore AI concepts, they learn how machines identify information, make predictions, and solve problems.
These activities encourage students to ask questions, analyze situations, and think logically — skills that are valuable across every subject.
2. Encourage Creativity and Innovation
AI is not only about programming and technology. It is also about imagination and creating solutions.
Through AI-based projects, children can explore ideas such as:
- Creating intelligent systems
- Building interactive applications
- Designing problem-solving projects
- Understanding how machines learn
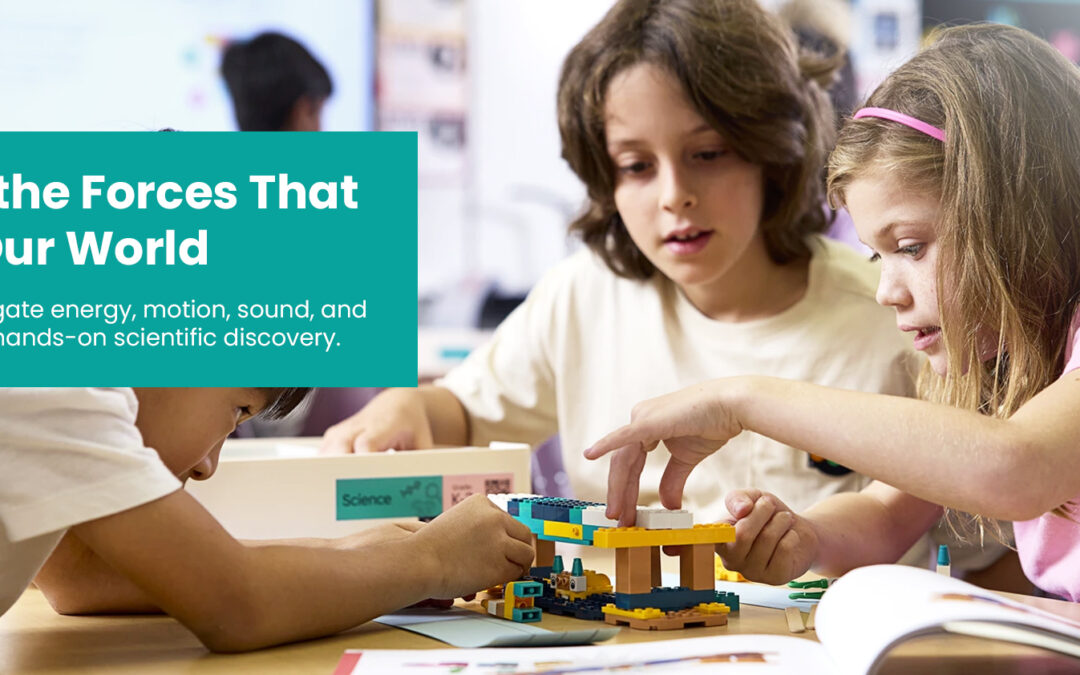
Hands-on learning allows students to experiment, make mistakes, and improve their ideas.
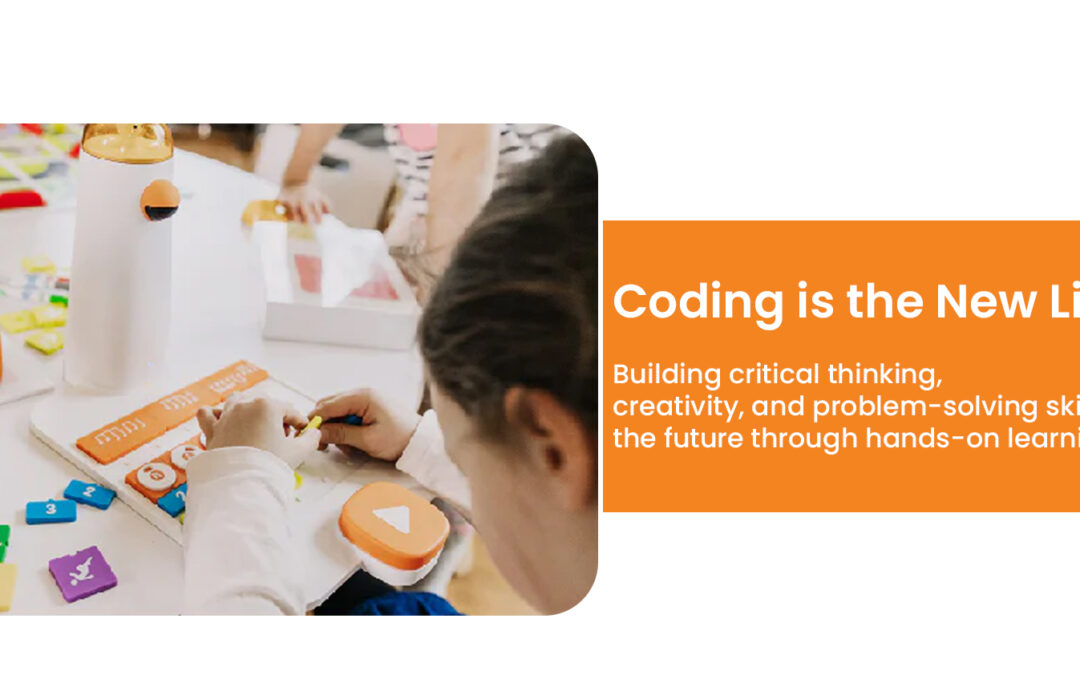
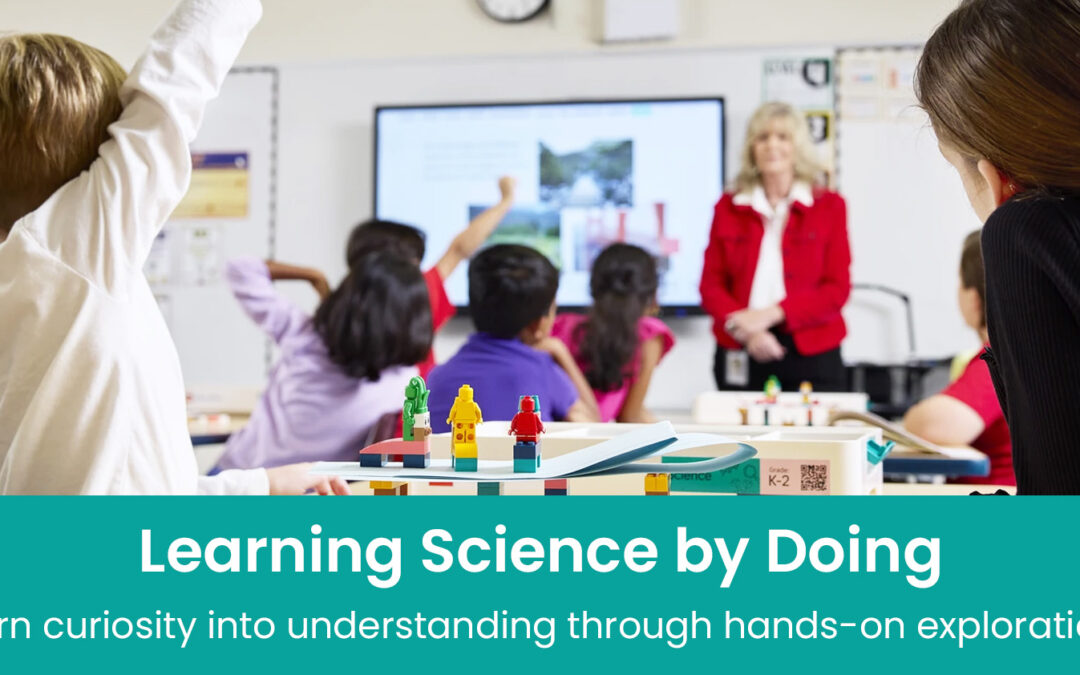
Learning AI Through Hands-On Experiences
The best way for children to understand AI is through practical activities rather than only theoretical explanations. Students learn better when they can interact, build, test, and explore concepts themselves.
Technokids helps introduce children to emerging technologies through engaging learning experiences that combine AI, coding, robotics, and STEM concepts.
Instead of simply teaching children how to use technology, Technokids focuses on helping them understand how technology works. Students develop confidence by working on projects that encourage creativity, teamwork, and innovation.
Building Future-Ready Skills Through AI Learning
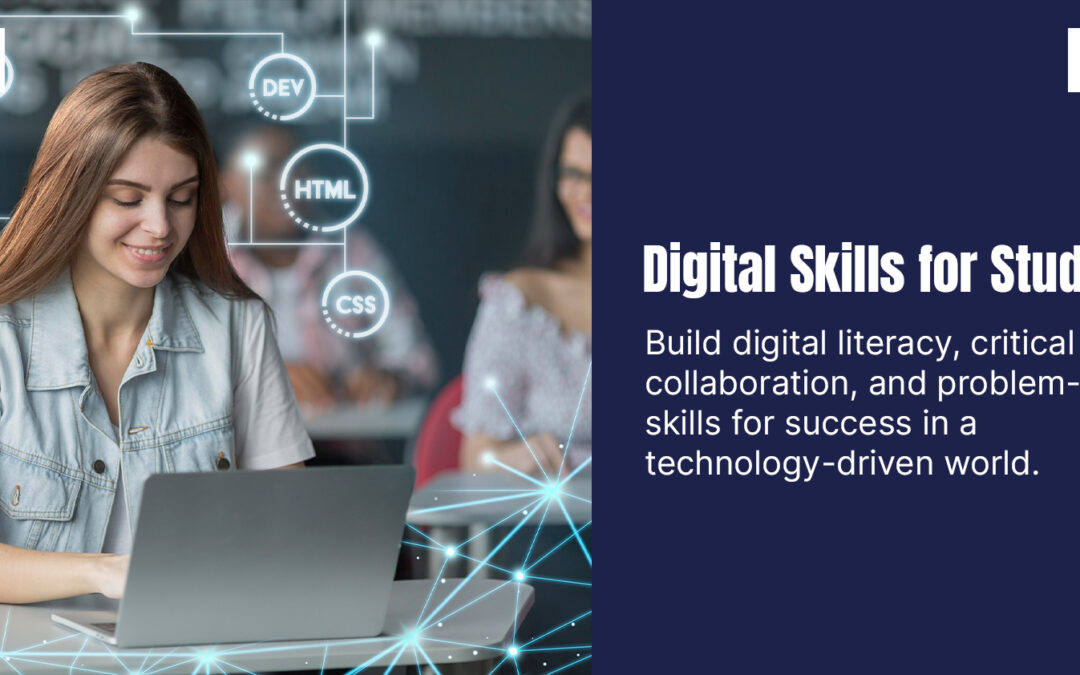
The future workforce will require more than traditional academic knowledge. Skills such as computational thinking, creativity, collaboration, and digital literacy will become increasingly important.
AI education for kids provides children with an opportunity to develop these essential skills from an early stage.
By learning AI concepts, students begin to understand:
- How machines process information
- How data influences decisions
- How technology can solve real-world challenges
- How humans and AI can work together
These skills prepare children to adapt to future opportunities in science, technology, engineering, and other fields.
The Role of Schools in AI Education
Schools play an important role in helping students become responsible technology users and creators. Introducing AI and emerging technology programs allows schools to create a future-ready learning environment.
With the right curriculum and hands-on approach, students can explore AI concepts in an age-appropriate way while developing confidence in technology.
Technokids supports schools by providing structured technology learning programs designed to introduce students to coding, AI, robotics, and digital skills through engaging activities.
Preparing Children for Tomorrow with Technokids
Technology will continue to transform the way we live and work. Helping children understand AI today gives them the confidence to create, innovate, and solve problems tomorrow.
With practical learning experiences and future-focused programs, Technokids empowers students to explore emerging technologies and develop the skills needed for the digital world.
The goal is not just to teach children about AI — it is to inspire them to become the innovators who shape the future.


Recent Comments