
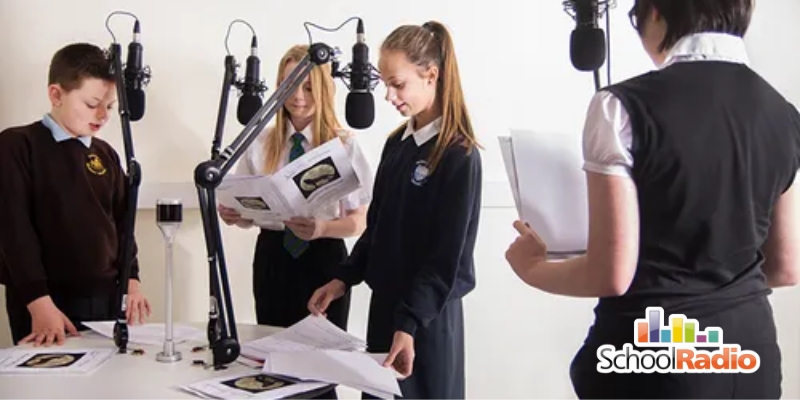
Empowering Student Voices: Essential School Radio Interview Tips
Every school boasts talented students excelling in academics, sports, or extracurricular activities. These students inspire their peers and demonstrate the incredible possibilities within the school walls. The school radio platform serves as a mighty pedestal for achievers, allowing them to showcase their skills and accomplishments. By featuring achievers on the radio, they are placed at the forefront of their peers’ attention, inspiring admiration and motivation among listeners. Celebrating achievers in school is crucial for fostering a culture of excellence and encouragement. The school radio offers the perfect medium for this celebration, amplifying students’ achievements and encouraging them to strive for further success. This blog delves into valuable school radio interview tips for conducting impactful interviews on the school radio platform.
Shining a Light on Role Models: Highlighting students’ success through School Radio interviews can inspire their classmates. It could be the student who always does well in school, the athlete who leads their team to victory, or a confident person who shines on stage. By delving into their experiences and journeys, fellow students can find relatable role models whose stories resonate with their aspirations, encouraging them to pursue their own passions and ambitions with renewed enthusiasm.
Unpacking the “How”: Follow school radio interview tips by delving deeper into the “how” of achievement rather than just glorifying success. Interview these students about their study habits, training routines, or leadership approaches. What strategies do they use to excel? How do they manage their time? Sharing these practical tips can empower other students to adopt similar methods and elevate their own performance.
Dispelling the Myth of “Natural Talent”: Many perceive success as something one is simply born with. School Radio interviews can debunk this myth. Most successful students will reveal the hard work, dedication, and perseverance behind their achievements. This honest portrayal can be incredibly motivating, demonstrating that success is attainable through focused effort.
Celebrating Diversity of Achievement: Success doesn’t wear a one-size-fits-all uniform. Highlighting students who excel in various areas showcases the breadth of opportunities within the school. This can motivate students who might not see themselves traditionally represented in the “success category.” Featuring the ‘shy artist’ showcasing their work at a gallery or the ‘student council president’ spearheading a community project can inspire others to confidently pursue their unique passions
Building School Spirit: When students see their peers shine, it fosters a sense of collective pride. This shared positive sentiment creates a vibrant school spirit. The forum becomes a platform to celebrate the school’s overall success, not just individual achievements.
Interactive Engagement: Incorporating a segment for audience questions directly to featured students is a vital aspect of school radio interview tips. This interactive element fosters real-time engagement, allowing listeners to connect with achievers and participate actively. By enabling students to ask questions, the radio show transforms into a dynamic space for dialogue and learning, enriching the experience for all involved.
Your Guide to Dynamic Radio Hosting!
- Pick Engaging Interviewes: Choose students with interesting stories and achievements across different areas. Don’t just focus on the top scorer; interview the student who overcame academic challenges or the Judo champion who juggles sports and a demanding volunteer program.
- Structured, Yet Conversational: When preparing for school radio interviews, it’s crucial to strike a balance between structured questions and natural conversation. Incorporating a mix of factual information and personal anecdotes ensures a well-rounded dialogue.
- Visual Appeal: Complement the school radio interview with captivating photos of the student in action, perhaps studying, playing a sport, or presenting a project.
- Music Matters: Carefully curate playlists that complement your show’s theme and keep the energy level high. Use music transitions effectively to create a smooth flow.
Think on Your Feet:
In the realm of school radio interview tips, live broadcasting can present unexpected hurdles. Be prepared to adapt to unforeseen problems, like technical difficulties or guest speakers going off track. Quick thinking and improvisation are valuable assets.
Empowering Student Voices through School Radio Studios
The School Radio platform, available in schools across the Middle East region, offers an exciting opportunity for students to develop essential communication skills, showcase talents, and foster inclusivity, teamwork, and confidence. Explore their range of studio packages to suit various budgets and needs. Whether delving into podcasting with the Podcast Studio Kit, launching a radio station with the budget-friendly SR0 Studio Package, or opting for the comprehensive SR1 Studio, they have options for you. Each package includes everything necessary to kickstart your School Radio project.
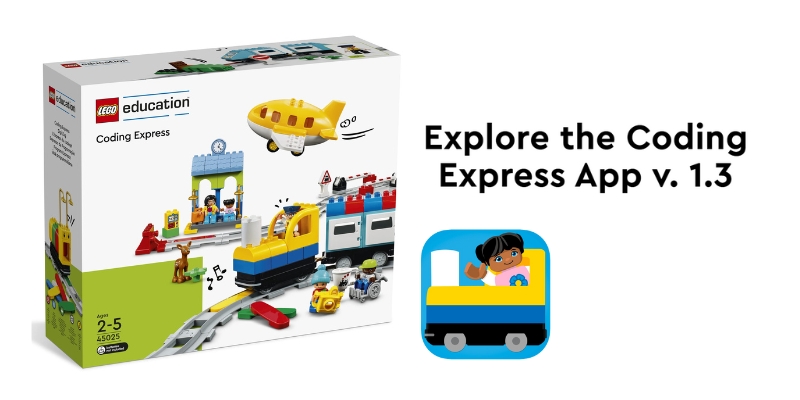
Testing Your Program
Once your code is ready, it’s testing time! Send MatataBot on his adventurous journey and watch him complete the tasks.
- Did MatataBot miss any tasks?
- Did he take too long to complete any part of the journey?
- Are there any errors in the sequence of commands?
After fixing any issues, try running the program again. Remember, coding can be mastered only by using trial and error technique!


Recent Comments