
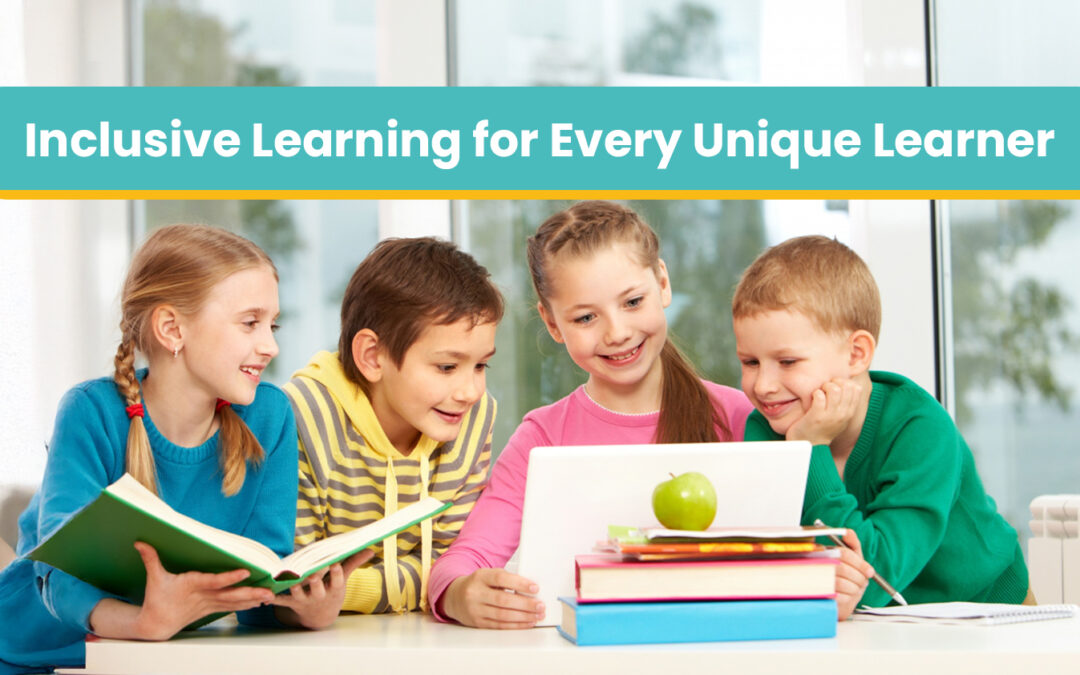
Inclusive Special Education Learning: Empowering Every Student
Every learner is unique, and education should reflect those differences. Traditional classrooms often follow a standardized approach, but not all students learn in the same way. Inclusive Special Education Learning focuses on creating supportive environments where every student can succeed.
Through adaptive tools, personalized strategies, and creative teaching methods, educators help learners develop confidence and independence.
Understanding Individual Learning Needs
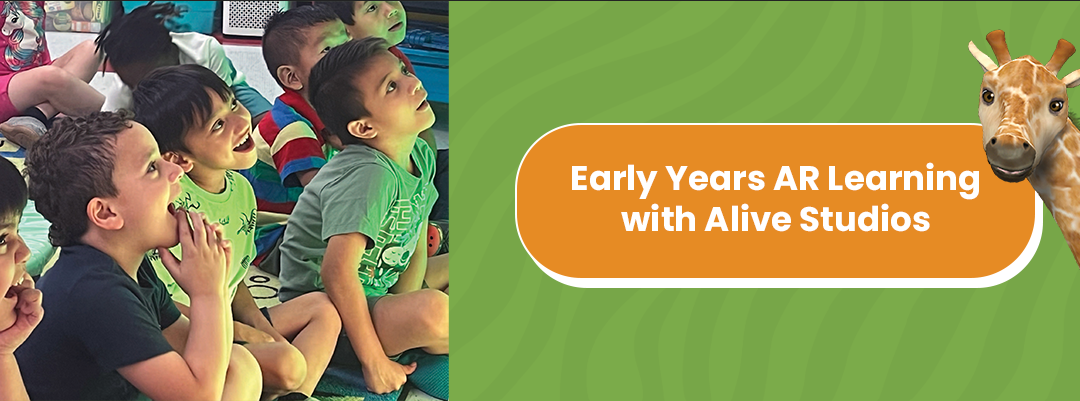
Students in Special Education programs may have different learning styles, communication preferences, or developmental needs. Inclusive Special Education Learning ensures that these differences are recognized and supported rather than overlooked.
Educators focus on identifying each student’s strengths and building learning experiences that align with those abilities.
Learning at an Individual Pace
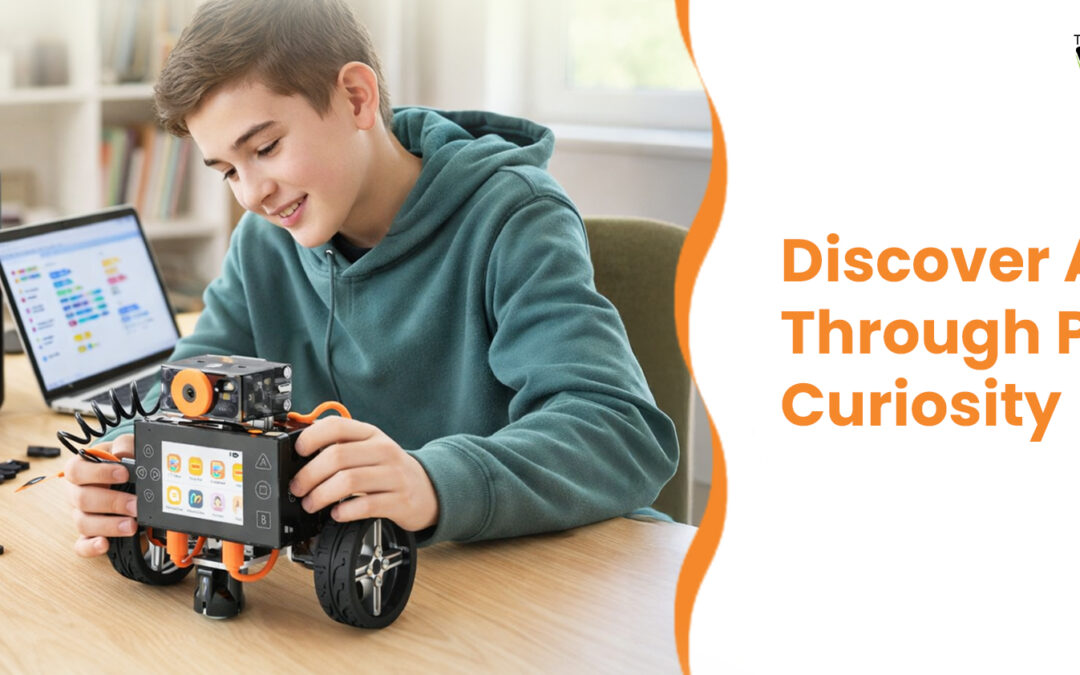
One of the most important principles in Special Education is allowing students to progress at their own pace. Some learners may require additional time to understand concepts, while others benefit from alternative teaching approaches.
Adaptive learning environments provide:
- Visual learning tools
- Hands-on activities
- Interactive learning materials
- Assistive technologies
These tools help students stay engaged and motivated throughout the learning process.
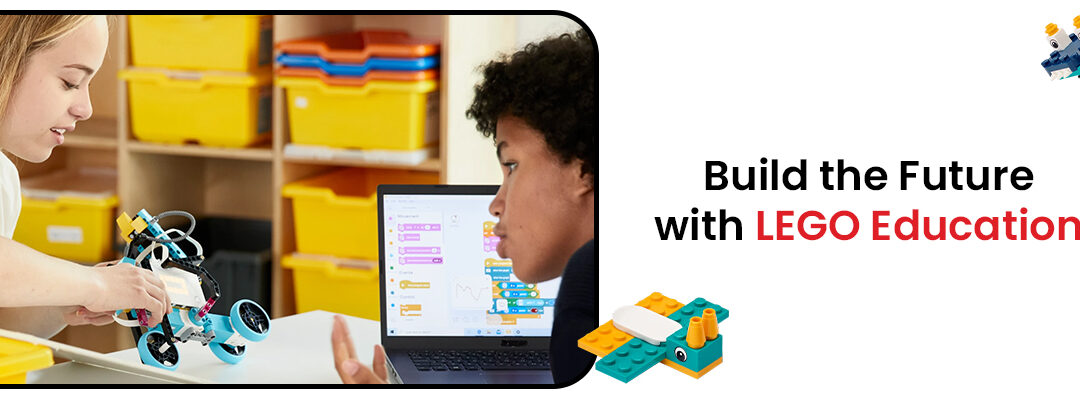
Encouraging Creative Expression
Not all students express knowledge through traditional written or verbal communication. Inclusive Special Education Learning encourages multiple forms of expression, including:
- Art and drawing
- Hands-on building activities
- Digital storytelling
- Sensory-based learning tools
This flexibility allows students to demonstrate their understanding in ways that feel natural and comfortable.
Building Confidence Through Small Wins
Confidence plays a major role in student success. When learners experience small achievements, they develop a sense of capability and motivation to continue learning.
Teachers often design lessons that provide achievable milestones so students can experience progress regularly.
These small successes gradually build independence and self-belief.
Creating a Truly Inclusive Learning Environment
Education should empower every student to reach their potential. By focusing on personalized strategies and adaptive learning tools, Inclusive Special Education Learning ensures that no learner is left behind.
Inclusive classrooms do more than teach academic skills. They nurture empathy, respect, and understanding among all students.
When schools prioritize inclusivity, they create environments where every learner feels valued, supported, and capable of success.


Recent Comments