
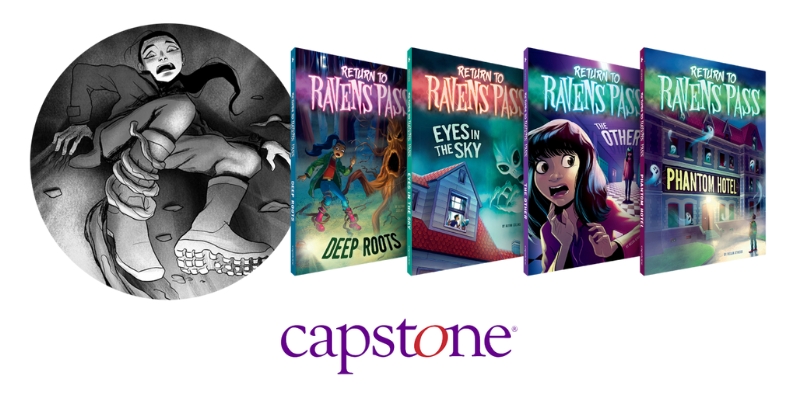
Interesting Super Scary Stories for Middle School Readers
Halloween, which falls in October, is a festive and eerie occasion. Now is the ideal time of year to pull out those spooky books from the loft and start reading some spine-tingling stories. Many scary stories for middle school students soon become their top choice. These captivating tales enthrall readers and keep them on the tip of their seats, in contrast to other genres that may seem repetitious. Prepare for a terrifying reading experience this season as we examine the spine-tingling selections from the Capstone Library’s collection!
I.M. Dead: The Master of Horror
The “I.M. Dead” series, aimed at middle-school students, introduces reading enthusiasts to terrifying fictitious horror author in the world. Each chapter of this book is a separate story with spooky animals, eerie events, and otherworldly terror. Despite their eerie content, these stories have satisfying narratives that allow children to experience the terror without becoming overwhelmed. For those who wish to push their bravery, these novels are an excellent introduction to scary stories because of their gripping details and quick-paced narrative.
Library of Doom Graphic Novels
With its graphic novel format, the “Library of Doom” elevates horror to a new level. The exploits of the courageous librarian who faces off against terrible monsters and scary library volumes are vividly depicted in this series. Readers will be pulled into the enigmatic universe where the Librarian battles to defend the planet from evil forces thanks to captivating artwork and an engaging plot. These graphic novels are ideal for children who may find regular chapter books less appealing but are still searching for terrifying stories that have captivating narratives and comic book illustrations.
Stories to Scare Your Socks Off!
The spine-tingling stories in this collection cover a variety of frightful topics, from ghosts and sorcery to zombies and monsters. With eight thrilling tales in each book, these scary stories for middle school readers are perfect for quick reads during Halloween, campouts, or sleepovers. Four well-known horror writers, including best-selling author Michael Dahl, bring each story to life with chilling illustrations and gripping prose. In addition to the terrifying tales, the books include writing prompts and discussion questions, encouraging readers to dive even deeper into the world of scary stories for middle school
Ghostly Graphics
Ghost stories have always captivated audiences, and “Ghostly Graphics” brings some of the most infamous legends to middle school readers. Ideal for Grades 4-6, this series covers well-known tales like the Bell Witch, the Flying Dutchman, La Llorona, and Bloody Mary. The stories are presented in graphic novel style with vivid illustrations that complement the eerie text, making them accessible to readers of all levels. This series is especially great for kids who want to explore scary stories for middle school but may struggle with longer books.
You Choose: Haunted Adventures
“You Choose: Haunted Adventures” series offers an exciting approach to explore the unknown fantasies for readers. These novels, which are meant for students in Grades 3-5, allow readers to make decisions that affect the plot as they move through different plots – castles, graves, haunted hotels, and battlegrounds. There is always a fresh way to enjoy the book because every decision has a distinct effect. For middle school readers who enjoy a little interaction in their horror stories, this is an excellent choice.
Why These Scary Stories for Middle School Are a Must-Read!
In addition to providing children with an enjoyable scare, scary stories for middle school readers can help develop critical reading skills. Young readers can enjoy the pleasure of being frightened while learning to predict events, spot plot twists, and comprehend character motivations through eerie stories. Additionally, middle school horror stories can persuade reluctant readers to take up a book since the suspense and excitement keep them turning the page.
There is something for every child horror enthusiast in these series, which accommodates a range of interests and reading abilities. The appropriate scary stories may turn reading into an adventure rather than a chore, regardless of whether students are embracing graphic novels, interactive books, or conventional chapter books.
Spooky Season Tips for Parents and Teachers
Consider incorporating some fun reading activities:
- Read-aloud sessions: Bring the stories to life with dramatic readings that will captivate your audience.
- Spooky storytelling contests: Encourage kids to write their own short scary stories and share them with their classmates.
- Haunted book club: Form a club where students can discuss the stories they’ve read and share their favorite spooky books.
Embrace the chills, and let young readers immerse themselves in scary stories for middle school that will have them begging for just one more page. This spooky season, these books are bound to be a hit with students eager for a thrilling read!


Recent Comments