
Build Computational Thinking Skills with AI Coding Robots for Kids
In today’s digital-first world, computational thinking is as essential as literacy or numeracy. But how can schools introduce such abstract concepts to young learners in an engaging, hands-on way? Enter AI coding robots for kids—interactive learning tools designed to build 21st-century skills through play.
One standout in this space is MatataStudio’s VinciBot, especially when paired with the AI Vision Kit. This dynamic duo turns classrooms into mini innovation labs where students don’t just learn about artificial intelligence—they experience it.
Why Early AI Education Matters
Artificial Intelligence (AI) is no longer confined to the tech industry. It powers everyday tools like recommendation systems, voice assistants, and even traffic signals. Understanding the basics of AI helps children become informed users and critical thinkers in a tech-driven world.
By using AI coding robots for kids, educators can foster computational thinking—a problem-solving method involving decomposition, pattern recognition, abstraction, and algorithm design. These foundational skills are not only the basis of coding, but also vital in science, math, and real-world decision-making.
VinciBot + AI Vision Kit: Making AI Tangible for Kids
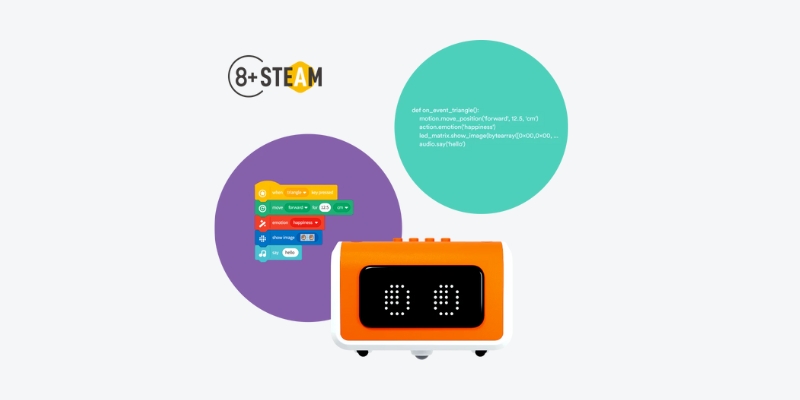
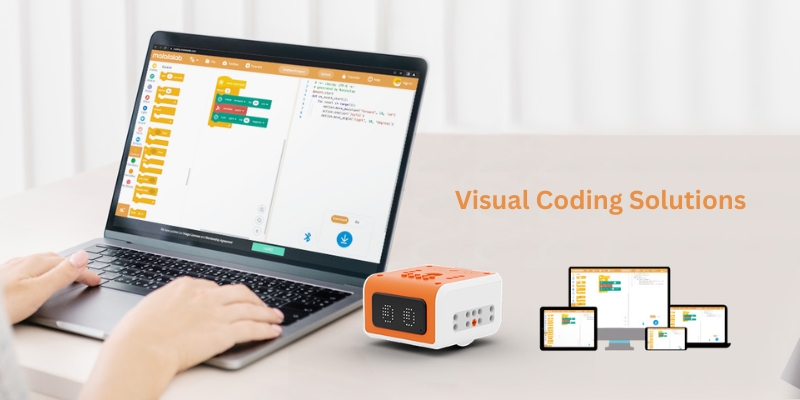
VinciBot by MatataStudio supports multiple coding languages—Python, Scratch, and graphical interfaces—making it ideal for different skill levels. But the AI Vision Kit takes it to the next level by introducing computer vision in a playful, approachable format.
With this kit, VinciBot can:
- Recognize faces, emotions, and expressions
- Detect colors, shapes, and objects
- Identify handwritten numbers or simple drawings
- React to custom-trained inputs
These features help students understand how machine learning models work—training the bot to respond based on specific visual cues.
How AI Coding Robots for Kids Build Computational Thinking
1. Interactive AI Exploration
VinciBot gives students the opportunity to label real-world items, train the robot, and observe how it responds. This trial-and-error cycle mirrors how real AI systems learn—solidifying concepts like input-output mapping, datasets, and training models.
2. Logical Thinking in Action
By programming the robot to act based on what it sees, learners practice using logic structures like if-then statements, loops, and conditionals—key aspects of computational thinking.
3. Skill Building for Future Careers
Introducing students to AI and coding at an early age nurtures future-ready competencies:
- Data analysis fundamentals
- Understanding of ethical AI
- Tech problem-solving skills
Classroom Ideas: Bring AI to Life
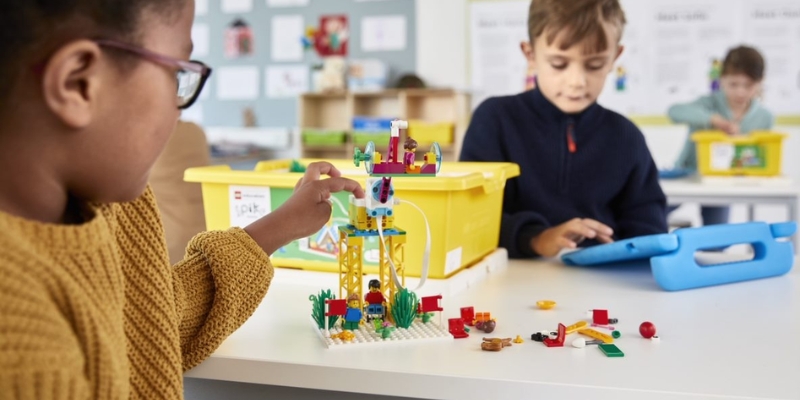
AI coding robots for kids can be smoothly integrated into regular classroom activities:
- STEM Stations: Rotate small groups through interactive tasks with VinciBot and the AI Vision Kit.
- Themed Challenges: Have students teach VinciBot to recognize common classroom items or respond to emotions.
- AI Storytelling: Let learners use AI as part of storytelling—e.g., programming the bot to “react” based on facial expressions.
Bonus: VinciBot operates without internet, so schools with limited connectivity won’t miss out.
A Playful Path to Problem-Solving
With VinciBot, AI becomes more than a buzzword—it becomes a hands-on learning experience. Through AI coding robots for kids, classrooms can nurture the next generation of tech-literate, ethically minded thinkers.
Whether you’re an educator aiming to build computational thinking or a school leader exploring AI learning tools, MatataStudio’s VinciBot is a smart, scalable solution for teaching tomorrow’s skills—today.


Recent Comments