
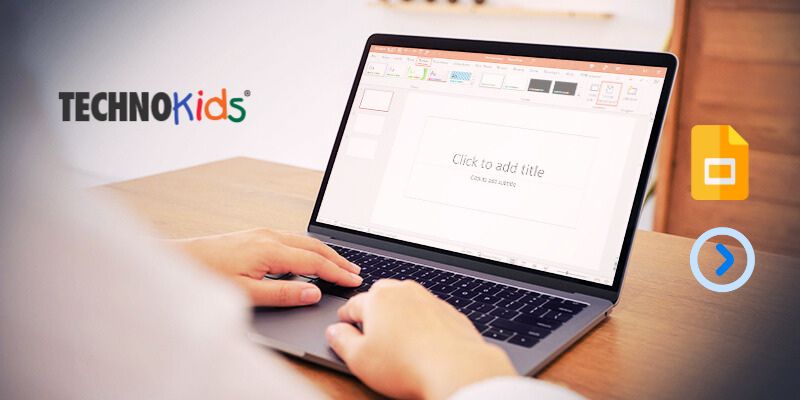
Ever wondered how to create awesome presentations like those you see in offices? Well, Google Slides is the perfect tool to start your journey! It’s a popular choice among students who need to complete school projects and impress their teachers. But if you’re just getting started, we are here to guide you. Read the Blog to understand some quick tips and tricks to help you make the most out of Google Slides, imbibing presentation skills for students.
Q1: What is Google Slides, and why should I use it?
A1: Just like a PowerPoint presentation helps you design amazing pitches, present research information, and share thought-provoking ideas, Google Slides does the same, and it’s free! This is essentially a cloud-based platform that allows for edits & collaboration, to anyone who has an internet connection.
- Multiple contributors can work on the same presentation at the same time.
- No need to worry about losing your edits, as everything gets auto saved.
- All your files are neatly stored and easily shared on Google Drive.
- Make presentations from any device – laptop, phone, iPad, etc.
Q2: How do I create a new presentation in Google Slides?
A2: Making a new presentation in Google Slides is simple.
- Go to Google Slides.
- Choose the “Blank” option from the menu or opt for a template.
- A new presentation will open, and you can start adding content to your slides right away.
Pro tip: Presentation skills for students can be refined by choosing Google’s pre-made templates, which include pre-set layouts and designs, to get a head start.
Q3: How can I customize the design of my slides?
A3: Google Slides gives you a lot of flexibility to personalize your slides:
- Themes: Google Slides offers a variety of themes that change the font, and color scheme of your entire presentation.
- Backgrounds: You can add colors or even upload images as your slide background by selecting the relevant function.
- Layouts: Don’t feel like starting from scratch? Use Google Slides’ pre-built layouts to quickly organize your text, images, and charts.
- Whether you prefer a clean, professional style or a bright, creative vibe, you can change these aspects to make your presentation stand out.
Q4: How do I add text, images, and videos to my slides?
A4: Adding content is straightforward:
- Text: Make things easy by clicking on the ‘text box’ icon in the toolbar, or choose a layout with a text box already included.
- Images: Go to the Insert option and Click → “Image.” You can customize your slides by uploading images from your repository, or the ones that are saved on Google Drive.
- Videos: The steps include clicking on “Insert” → “Video,” and then you can add YouTube videos or upload your own.
Each element can be resized, moved around, and formatted to fit your presentation’s style.
Q5: What’s the best way to collaborate with classmates using Google Slides?
A5: As the saying goes, alone we can do little, together we can do so much. Similarly, collaboration on project work results in a win-win situation. Here’s how you can work with your classmates and develop efficient presentation skills for students.
- Click the “Share” button at the top-right corner of your presentation.
- Enter your classmates’ email addresses.
- Choose their permission level: “View,” “Comment,” or “Edit.”
- Everyone invited can access the same document simultaneously.
You can all view each other’s modifications in real-time, which is quite cool. By tagging someone in a comment, you may also assign jobs and leave comments (simply type @ followed by their name or email).
Q6: How do I present my Google Slides to the class?
A6: Presenting is easy if your slides are prepared. Simply select “Present” from the menu in the upper-right corner.
- Q&A: Google Slides offers a really useful Q&A section. You can initiate an online Q&A session where members of your audience can submit questions when you select “Presenter View.”
- Presenter View: With this setting, your audience will only view the current slide while you can see your speaker notes and future slides.
Q7: Can I use Google Slides when offline?
A7: Certainly! Google Slides is an online application, but you can make it work offline too.
- Use Chrome to open Google Slides.
- On the upper left, click the three-line menu.
- From the “Settings” sub-tab you can click on “Offline” mode.
You can now work on your presentation offline without using the internet. As soon as you decide to go online, all the prior changes and current changes will automatically sync.
Q8: How do I export or share my finished presentation?
A8: After you’ve finished your masterpiece, there are various methods you can download or share it:
- By selecting “Share,” you will receive an open-access URL. Permissions for viewing, commenting, and editing can be specified.
- Download: Select your presentation as a PowerPoint (.pptx), PDF, or even a picture by going to “File” → “Download.”
- If you have a dedicated school blog or school website, you can embed your presentation directly by selecting “File” → “Publish to the web.”
Empowering Students with TechnoEarth and Google Slides
TechnoEarth teaches students how to use Google Slides to make powerful presentations, which helps kids become environmental stewards. By using rotating slide decks and interactive infographics, students may effectively communicate important environmental issues. By integrating vital digital tools like Docs, Sheets, and My Maps, the initiative makes it possible for students to present their research at gatherings like Earth Keeper’s Conferences.
Presentation skills for students is an invaluable skill. Google Slides is indeed a fantastic tool for making visually stunning presentations, but it also fosters creativity and teamwork. You can easily build, modify, and present your Google Slides projects with confidence if you follow these recommendations!


Recent Comments