Learning to Create Innovative Pieces of Digital Art with MS Paint
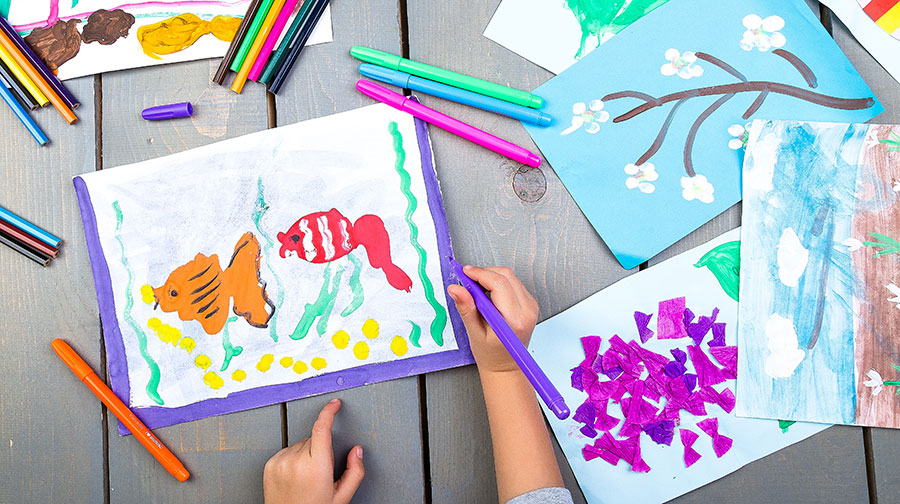
Children are fascinated by art and vibrant colors appeal to them. When they first enter preschool, the educators emphasize on freehand drawing and coloring, which builds their motor skills and also conditions them for the pre-writing phase. However, today the world has moved online and digital resources are readily available to not just adults, but also preschoolers.
School goers are readily using tabs and mobile devices to attend online session and are glued to various quiz, storytelling, and gaming apps all through the day. The same is with creating digital pieces of art.
Traditional Art vs. Creating Art
Digitally Buying a set of paint brushes, crayons, and a canvas, is a great way to stimulate the child’s imagination and spend his spare time on constructive art activities. However, we know that drawing or creating art on paper has limited scope. One cannot erase or undo a stroke of color already painted on paper. Moreover, fancy art supplies are expensive and they get exhausted pretty soon. In no time you would have a crying child, asking you to buy more art supplies!
On the other hand, digital art lessons on the MS Paint software has no limitations and the child is free to explore, experiment, and manifest beautiful artworks from a laptop. There are pre-defined templates and tools that aid the child’s drawing and support his imagination. Moreover, the demand for graphic designers & animators is on an ever increase, and by using digital mediums, children get a glimpse of relatable job opportunities that the real world has to offer them.
Introducing Children to MS Paint
Microsoft Paint or MS Paint is a graphic editing program that comes pre-installed with Microsoft Windows. With MS Paint one can draw, make shapes, and write texts to create a visual imagery. TechnoKids has a special module dedicated to teaching TechnoArt to children on MS Paint. TechnoKids provides technology projects & teaches computer skills to early learners in a systematic way by collaborating with most schools across the Middle East, including Dubai and other GCC countries. Usually the step-by-step approach to teaching MS Paint is as follows:
Teach Kids How to Start the Program:
- Press the Windows Key
- Type Paint in the text box
- In the list, select MS Paint program and press enter

Learn About Various Tools on MS Paint
Teach children about the layout of MS Paint first and help them understand where to click in order to access a particular function. Remember you are teaching kids their very first MS Paint lesson, so be patient and get into details.
- Show the child the Title Bar where the particular project’s title is mentioned on MS Paint and teach them what minimize, maximize, and close buttons are for.
- Under the Menu Bar, children can explore File, Home, and View options. Emphasize the importance of this section and let the child hover their mouse cursor over each of the option, for as long as they want.
- Under the Home Tab there are a lot of discoveries to be made. There is a shape selector, which allows you to choose various shapes and then use them to draw an object or fill color into an independent shape. Children can select different kinds of brushes to color the picture and also choose how thick or thin they want their brush to be. Then there is the color pane, which has a plethora of color options. Let children to mix, match and be as creative as they want to.
- Help children spot a pencil kind of icon on the tool bar and ask them to draw a village scene using that pencil. It’s the same way they would draw something on paper using an actual lead pencil.
- The most important functionality is the eraser tool. Use it to demonstrate how easy it is to rectify an error while drawing, by using the eraser icon.
- One can even use the curved line tool to draw curved lines, an oval shaped tool to draw an oval egg, and the straight-line option to draw crisp horizontal & vertical lines.
Selection Command and Cut – Paste Functions on MS Paint
The Selection and Copy-Paste commands come handy while editing a project. When the child is done expressing his creativity on the MS project, he can save it, exit, and revisit it maybe later. While on a revisit of his own MS Paint artwork, if the child spots some element that he wishes to change or if he decides to be more creative, the Selection tools come handy.
If the artwork is too intricate and a part of it needs to be deleted and reworked upon, the child needs to be taught to choose the ‘freehand selection’ option and cut the portion out, without disturbing the whole scene. ‘Paste from clipboard’ option allows children to copy an image from another workbook and paste it into their existing sheet.
Exiting MS Paint
- Click on the File tab and choose Save As then give a name to the .png work to save it on the Desktop Screen or at any other location.
- Once the work is satisfactorily saved, click the cross button on the right side of the screen and close the software.
If this was too much of an information overload, we are sure you could make use of the teacher training guides and workbooks provided by TechnoKids which focuses on a systematic lesson plan used by most IB School educators in the UAE.


Recent Comments